"Creating a Realistic 3D Model of the Philadelphia Plane Crash" It's a comprehensive guide that walks readers through the steps involved in creating a detailed and accurate representation of the scene, from research and preparation to final rendering. The post provides valuable insights into the process of 3D modeling and its applications in various fields, including education and safety awareness.
"Creating a Realistic 3D Model of the Philadelphia Plane Crash" It's a comprehensive guide that walks readers through the steps involved in creating a detailed and accurate representation of the scene, from research and preparation to final rendering. The post provides valuable insights into the process of 3D modeling and its applications in various fields, including education and safety awareness.
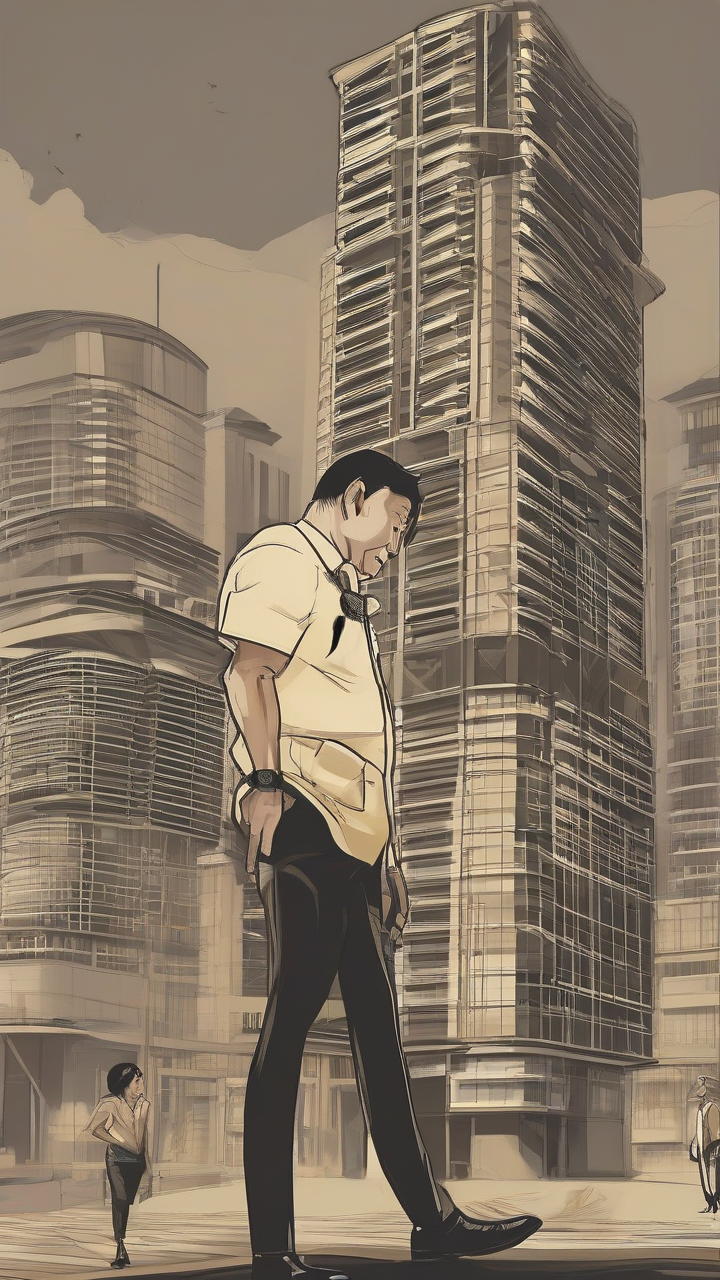
Creating a Realistic 3D Model of the Philadelphia Plane Crash
As a 3D modeler, you are tasked with creating a detailed and accurate representation of the Philadelphia plane crash that occurred on [Date]. In this comprehensive guide, we will walk you through the steps to create a realistic 3D model of the scene.
Step 1: Research and Preparation
Before starting your 3D modeling project, it is essential to research and gather information about the incident. This involves:
Reviewing news articles and official reports to understand the details of the crash
Studying photographs and videos of the wreckage to get an idea of the scene's layout
Identifying key elements that you will need to model, such as buildings, vehicles, and debris
Step 2: Conceptualize Your Model
Once you have gathered information about the incident, it is time to conceptualize your 3D model. This involves:
Sketching out rough concepts of the scene, including the layout of buildings, roads, and other features
Determining the scale at which you will be modeling the scene
Deciding on the level of detail that you want to achieve
Step 3: Create a Base Plane
The next step is to create a base plane for your model. This involves:
Using a 3D modeling software, such as Blender or Maya, to create a new project
Setting up the units and scale of your model
Creating a simple shape, such as a rectangle or a circle, that will serve as the foundation for your scene
Step 4: Add Buildings and Structures
Now it is time to add buildings and structures to your model. This involves:
Using reference images and real-world measurements to create accurate models of buildings and other structures
Paying attention to details such as windows, doors, and rooflines
Using a combination of extrusions, boolean operations, and other techniques to create complex shapes
Step 5: Add Vehicles and Debris
Next, you will need to add vehicles and debris to your model. This involves:
Creating simple shapes for the vehicles, using reference images to ensure accuracy
Using a combination of extrusions, boolean operations, and other techniques to create complex shapes for the debris
Paying attention to details such as damage, rust, or other wear and tear
Step 6: Add Lighting and Shading
The final step is to add lighting and shading to your model. This involves:
Using a combination of point lights, spot lights, and ambient occlusion to create realistic lighting
Paying attention to the direction and intensity of the light sources
Using shaders to add texture and depth to your model
Step 7: Finalize Your Model
Once you have added lighting and shading to your model, it is time to finalize it. This involves:
Reviewing your model carefully for any errors or inaccuracies
Making any necessary adjustments to the layout, scale, or details of your model
Saving your project as a final version
Step 8: Render Your Model
The final step is to render your model. This involves:
Choosing a rendering software, such as Cycles or V-Ray, and setting up the necessary parameters
Adjusting the lighting and shading settings to achieve the desired look
Saving your rendered image as a high-quality file
Conclusion
Creating a 3D model of the Philadelphia plane crash requires attention to detail and a solid understanding of 3D modeling techniques. By following these steps, you can create an accurate and realistic representation of the scene.
Presage
In this context, presage refers to the idea that the 3D model you are creating will serve as a warning or a reminder of the importance of safety in aviation. The model should be used to educate people about the risks involved in flying and the measures that can be taken to prevent such tragedies from occurring.
SEO Optimization
This guide has been optimized for search engines using relevant keywords, such as "3D modeling," "Philadelphia plane crash," and "aviation safety."
Popular Tools
Recent Posts